What is Demo Mode?
Demo Mode provides a complete, interactive experience with a sample e-commerce platform called ShopFlow. This fictional project demonstrates all of Kasava’s capabilities with realistic data.In Demo Mode, all data is read-only. You can explore and interact with the interface, but changes won’t be saved. This prevents accidental modifications to sample data.
Enabling Demo Mode
Sidebar Toggle
You can toggle Demo Mode on or off at any time using the switch in the sidebar:1
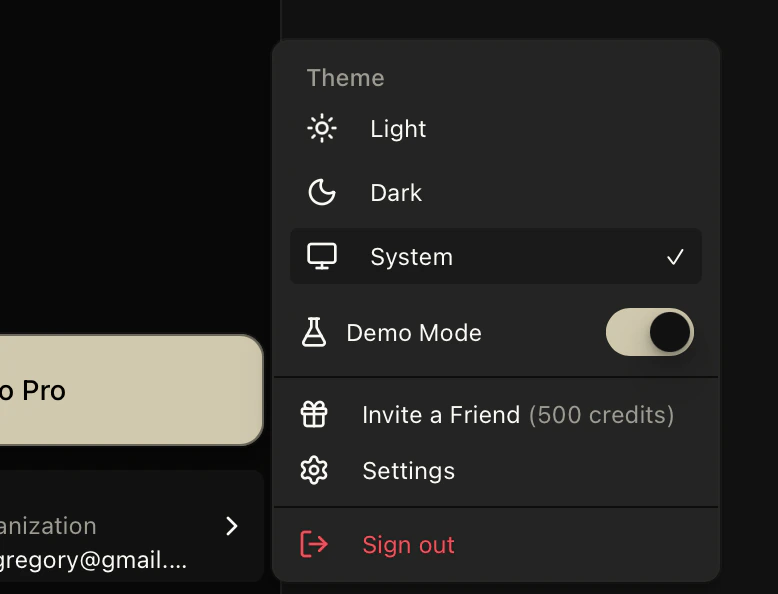
Find the Toggle
Look for the Demo Mode toggle at the bottom of the sidebar, near your user profile
2
Enable or Disable
Click the switch to turn Demo Mode on (shows sample data) or off (shows your real data)
Frequently Asked Questions
Can I return to Demo Mode after exiting?
Can I return to Demo Mode after exiting?
Yes! You can toggle Demo Mode on or off at any time using the switch at the bottom of the sidebar. This lets you revisit the sample ShopFlow project whenever you want to explore features or show Kasava to teammates.
Why can't I edit demo content?
Why can't I edit demo content?
Demo Mode is read-only to preserve the sample data experience. All changes are simulated and not persisted.
What is ShopFlow?
What is ShopFlow?
ShopFlow is a fictional e-commerce platform used as sample data in Demo Mode. It represents a realistic software project with repositories, issues, PRDs, and integrations to showcase Kasava’s capabilities.